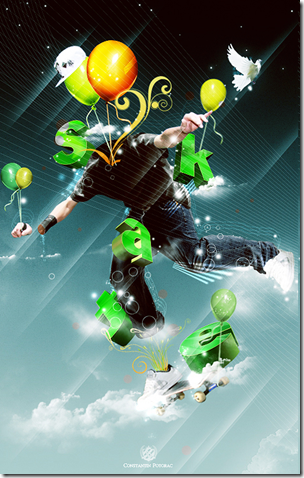
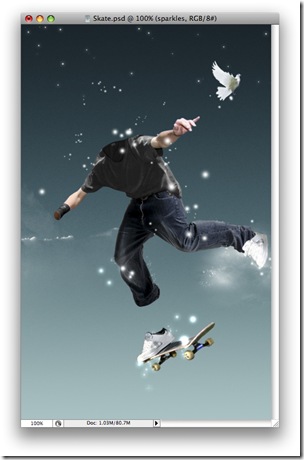
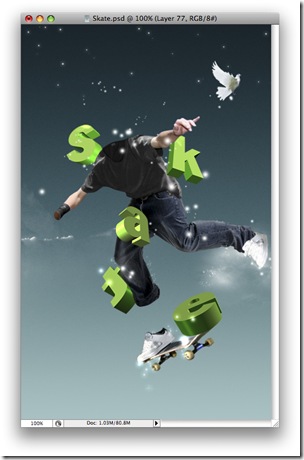
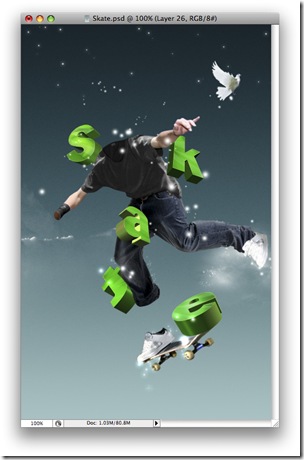
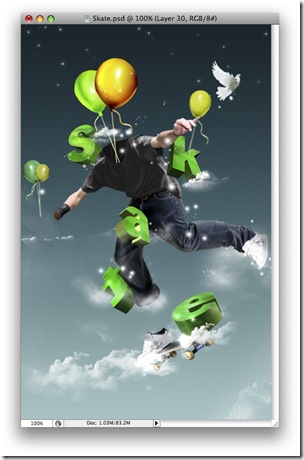
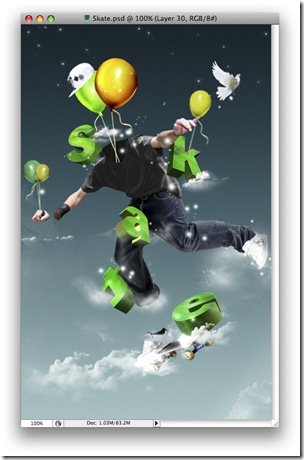
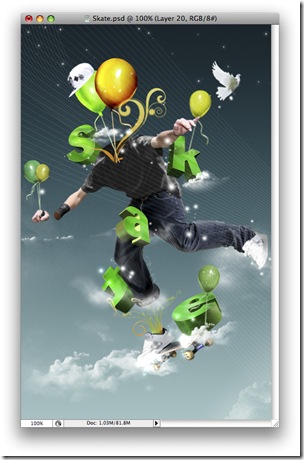
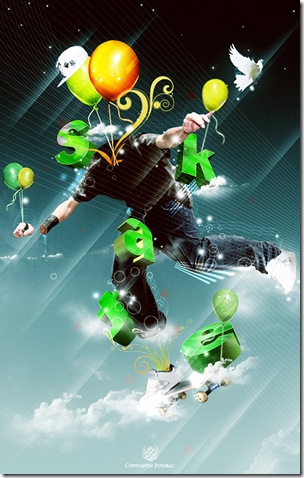
In this tutorial, we'll be constructing a high flying dreamy scene. First, go to Emil's Article on 10 Techniques That are Essential For Successful Photo Manipulation Artwork to review some techniques on making great photo manipulations by using just a few images. We'll be applying some of those techniques in this design.
You can find the Photoshop PSD files in a directory labeled 'PSDs' that came in the ZIP file that you downloaded. You may wish to look through them briefly before we begin.
Step 1
Let's start by making a new white document at 477 pixels by 754 pixels.
Step 2
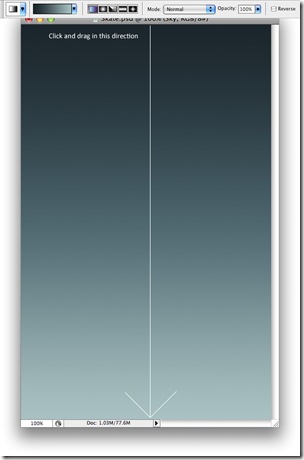
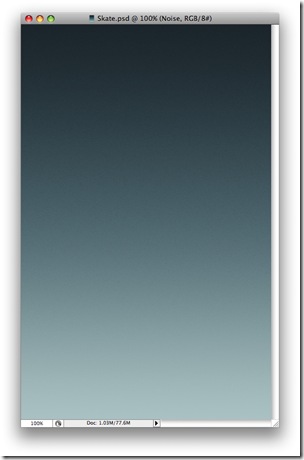
Next we need to make the clean blue sky. To do this we'll make a new layer and name it "Sky." Then with the Gradient tool and the settings below, make a nice clean sky. Also use the colors #0d2027 and #9ec0c1 for the gradient.
Step 3
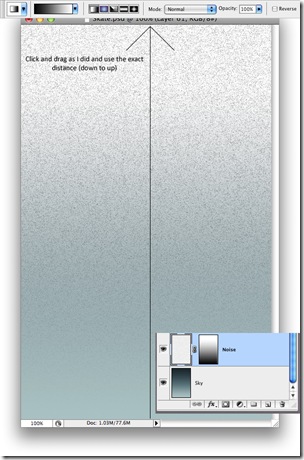
Make a new layer over the "Sky" layer and name it "Noise." Make sure you got your Foreground set to white and Background to black. Then go to Filter > Noise > Add Noise. Use the settings below.
Step 4
Now you need to Add a Layer Mask for this Noise layer. Using the Gradient Tool set to the settings below hide some of that noise.
Step 5
For the Noise layer set it to 35% Opacity and Multiply.
Step 6
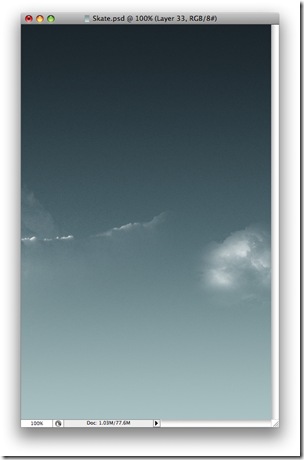
Make a new folder over the "Noise" layer and name it "Background Clouds." In this folder make a new layer. We'll use some brushes to make the clouds here. To find the brushes you just need to search for "cloud brush" in Google and you'll find a lot of useful and free brushes. Now using a cloud brush, simply draw a few clouds on the background.
Step 7
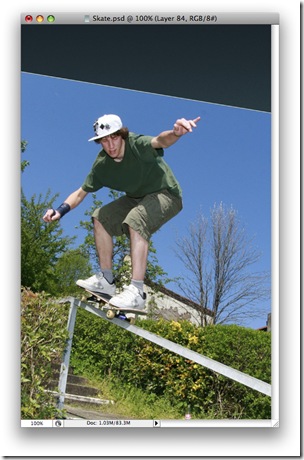
In this step I will start bringing some stock of a skater from Stock.xchng.
Step 8
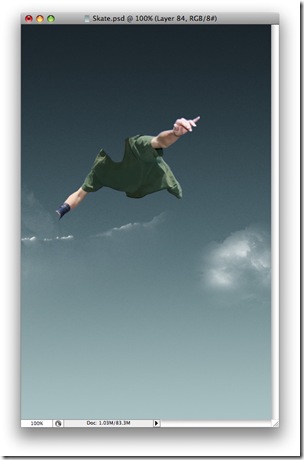
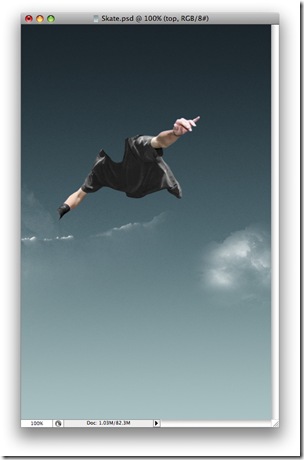
Using the Pen Tool, simply cut the skater out and leave part of the upper body, as shown below. Do not delete the other image; just hide it, as we'll need some more things from it later.
Step 9
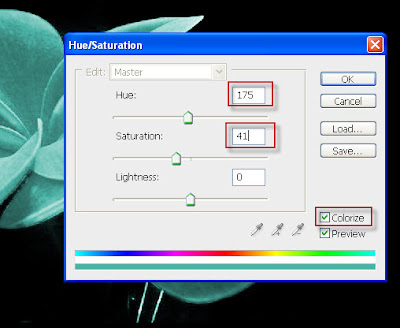
Make a selection of the t-shirt and the protection on the right arm. Now go to Image > Adjustments > Hue/Saturation and use the settings shown below.
Step 10
Using the Dodge and Burn tools, make the highlights and the shadows of the shirt more visible.
Step 11
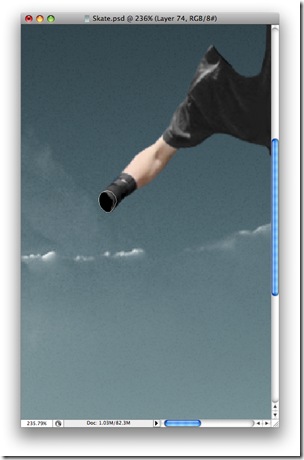
Now I want to make something like a hole in the right hand. So, make a dark circular shape and place it lower than the "top" layer.
Step 12
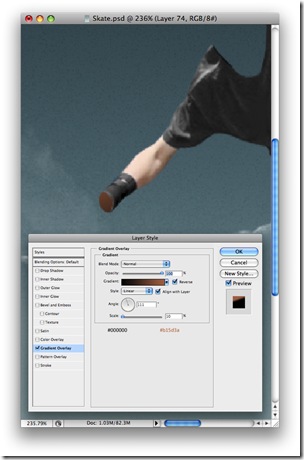
Double-click on the layer and use the following Blending Options.
Step 13
Next we'll move onto constructing the head. Copy a part of the guy's shirt and move the layer down so that it will be behind the guy. Place the piece where you want it and mask it. Then using the Dodge and Burn tool, you need to make it look better and maybe make more wrinkles. Double-click on the layer and use the settings below for the Blending Options.
Step 14
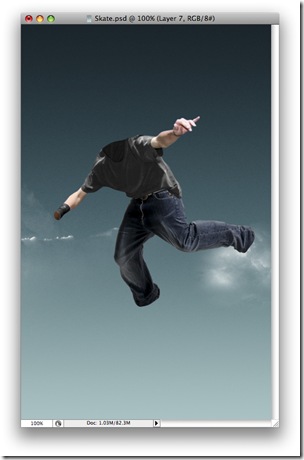
Next we'll add some legs. The reason I did not kept the original legs is because I want some different legs in here. The legs we'll use are the same legs used in the Water effect photo montage tutorial I wrote. You can find the image of the legs here. Just cut them and place them into position. You may need to transform it to fit in place.
Step 15
Next you need to go back to the full image and cut the skateboard out. Then rotate the skateboard a little and also remove the left shoe. Notice that when you remove the shoe you'll leave a hole in the skateboard. You'll need to cover that hole using the Brush and Clone tools. Remember that when you take a piece of a photo you need to retouch and work on the details.
Step 16
In this step I will bring another stock. This time I have bought this nice image of pigeons from iStockphoto. Then crop it, resize it, and position it into place.
Step 17
It's time to make the stars. Set the brush to the following settings. Then after you draw a few stars in a new layer, name it "Stars" and use the settings shown below for the Blending Options.
Step 18
Using the same Brush settings, but this time with a larger brush size, make some sparkles over the subject. The layers you are making these sparkles need to be over the subject layer.
Step 19
For the next step I will have to go to Windows because I will use Xara 3D to make my 3D text. The program is not available for Mac. Note: If you do not have this program, than use a 3D program of your choice to make the text.
Open up Xara 3D. Then press the Text button and write the letters you want to use. In this case, I made each letter of "S, K, A, T, E." Also, select your desired font. I chose a simple sans-serif Font. Use the settings shown below. Also, you'll need to rotate the letter to your desire and then export each letter individually. I exported them as PNG's.

Step 20
Next you need to bring the letters into the design. Scale them and transform them as you wish. I have moved each letter into separate folders called "S," "K," "A," "T," and "E." This is because I'm going to go through each letter and add some details. I want to make them look more interesting. You will also probably need to mask some parts of the letters.
Step 21
We'll play with the letter "S" first. Make a selection as shown below and create a new layer. Fill the layer with black and set it to 50% Opacity.
Step 22
Using the Pen Tool, make a shape as shown below. Then use the settings below for the Blending Options.
Step 23
Using the Dodge Tool, make some light on the shape. Then using the Pen Tool again, make some paths. Then fill them with white into a new layer. Then simply set them to Lighten with an Opacity of 23%.
Step 24
Next you need to use these same techniques again for the rest of the letters.
Step 25
Don't forget some details, like reflections and shadows.
Step 26
In this step, let's add some more clouds. Make a new folder and in this folder we'll add a few clouds using the cloud brush you found.
Step 27
Next I will use this image to select some balloons from. Crop one balloon and move it into place.
Step 28
Next you need to change the color of the balloon. Go to Image > Adjustments > Hue/Saturation and use the following settings. Then go to Image > Adjustments > Color Balance and use the settings below.
In the end, you'll have to use the Dodge Tool and Burn Tool to add some shadows and some highlights to the balloon. And last you'll need to draw using the Brush Tool, a simple line and maybe a curly line that will hold the balloon down.
Step 29
Next you can use the same balloon, but use different settings and different colors or reshape the balloon to make it distinct.
Step 30
Next I'll get from the original image of the skater his hat and his hand. Then place them into position.
Step 31
Next we're going to use some floral brushes. Just search for Floral. Use the settings below for the brushes and place them as I did.
Step 32
Repeat Step 31, but this time make a bigger brush and place it to the head.
Step 33
In this step, I we'll go back to one of Fabio's tutorials and make some nice lines as he shows you in Step 14.
Step 34
The work is almost finished. You just need to add some more highlights and effects to the image. Use the same techniques I showed you in the HTC Touch Diamond tutorial to finish the image. Below are some progressive changes to the final image for you to follow along.

Final
What is left for you to do in the end is play a little with the curves and maybe make the image look vintage. I have included in the tutorial PSD files some very useful actions you could use. I hope you learned something from this tutorial. Take care and keep reading PSDTUTS. ;)
